
In today’s visual world, photos speak louder than words. Whether you are posting on social media, designing a flyer, or creating a personal photo album, one thing is sure—your images need to stand out. One powerful and easy way to make your pictures shine is by using the Photeeq Lens Flare effect. This effect adds a touch of magic, a beam of light, or a dreamy glow that can make any ordinary photo look extraordinary.
This guide will help you learn everything about the Photeeq Lens Flare effect in a simple and easy way. By the end of this blog, you’ll know how to use it, when to use it, and how to turn dull photos into stunning ones. Let’s dive in.
What is the Photeeq Lens Flare Effect?
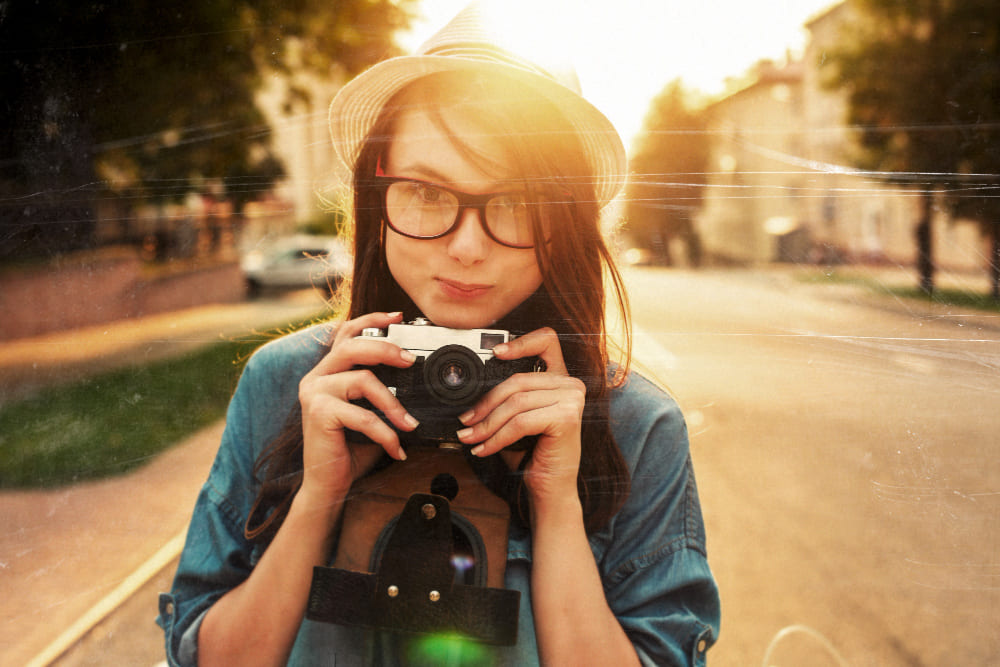
The Photeeq Lens Flare effect is a light-based enhancement that mimics the glow or shine that happens when light hits a camera lens. It’s like adding a sunbeam, a sparkle, or a soft light to your photo. This effect can make your picture look warm, dreamy, or full of energy. Think of the sun peeking through the trees or a bright spotlight during a concert—that’s the kind of feeling lens flare can give to your image.
Unlike natural lens flares, which can happen by accident, the Photeeq Lens Flare effect is a tool you can add on purpose to make your photos pop. It’s used by bloggers, photographers, and even regular people who want their images to look more professional.
Why Use the Photeeq Lens Flare in Your Photos?
Adding the Photeeq Lens Flare to your photos isn’t just about making them shiny. There are many good reasons to use it, and here are the main ones explained simply:
1. It Makes Photos Look More Alive
Have you ever looked at a picture and felt like it was flat or boring? Lens flare can add brightness and life to your photo, making it feel more real and exciting.
2. It Adds a Special Touch
Even small changes can make a big difference. The Photeeq Lens Flare gives your photo a stylish glow, like a secret ingredient that makes everything better.
3. It Helps Tell a Story
Pictures tell stories, and the light from a lens flare can guide the viewer’s eyes to the most important part of your photo. It’s like shining a flashlight on what really matters.
4. It Looks Professional
Even if you’re not a pro photographer, using the right lens flare makes your work look like it was done by someone who really knows what they’re doing.
5. It Hides Mistakes
Sometimes photos have problems—like dark spots or blurry areas. A soft lens flare can help cover those up and make the photo look smooth.
How to Use the Photeeq Lens Flare Effect Step by Step
If you’re ready to use the Photeeq Lens Flare, don’t worry—it’s easy! Here’s how you can start making amazing images right now.
1. Choose the Right Photo
Pick a photo that has natural light or open space. A sky, a beach, or a park works great. These give the flare room to shine and look natural.
2. Open the Photeeq Tool
Photeeq is a photo editing plugin that works with programs like Photoshop. Once you have it installed, open it with your picture ready.
3. Select the Lens Flare Option
Inside Photeeq, look for the lens flare effect. It might be listed under light effects or special tools. Click to start editing.
4. Move the Flare Around
You can click and drag the lens flare to different parts of the image. Try putting it near the sun or behind a person to see what looks best.
5. Adjust the Brightness
Make sure the flare isn’t too strong or too weak. You want it to glow but not cover the whole image. Find a balance that looks natural and pretty.
Best Times to Use the Photeeq Lens Flare Effect
Using the Photeeq Lens Flare is fun, but timing is important. Here’s when it works best:
1. During Sunsets or Sunrises
Photos taken at these times already have warm light, and the lens flare just adds to the glow. It’s perfect for romantic or peaceful scenes.
2. For Outdoor Portraits
If someone is standing in sunlight, the flare can add a golden shine around their hair or shoulders, making them stand out.
3. In Concerts or Events
Flashing lights and stage beams are made even more dramatic with a well-placed lens flare.
4. On Nature Shots
Trees, mountains, and beaches all look better with a soft light flare to add depth and drama.
5. For Artistic Photos
Want to make your photo look like it came from a movie? Add a lens flare and watch the magic happen.
How to Avoid Overdoing the Photeeq Lens Flare Effect
While the Photeeq Lens Flare is beautiful, using too much of it can ruin a photo. Here’s how to keep things balanced:
1. Don’t Cover Faces
Keep the flare away from people’s eyes or faces unless you want to hide part of them on purpose.
2. Use Just One Flare
One good flare is better than five bad ones. Too many will make your picture look messy.
3. Match the Light Source
If your photo doesn’t have a sun or lamp in it, the flare might not look right. It should fit with the picture.
4. Choose the Right Size
If the flare is too big, it might take over the whole photo. Use one that fits naturally in the space.
5. Check the Color
Some flares are blue, some are gold. Pick one that matches the mood of your photo.
Real-Life Examples of Stunning Images with Photeeq Lens Flare
Let’s take a closer look at how this effect can change photos:
1. A Beach Photo at Sunset
With the Photeeq Lens Flare, a soft glow appears near the sun, making the ocean sparkle and the sky warm.
2. A Child Running in a Park
A gentle flare behind the child creates a feeling of joy and freedom.
3. A Bride in White
Adding a light flare near the top corner makes the bride glow, like she’s in a dream.
4. A Mountain Hike
Using the flare behind the mountain peak gives the feeling of reaching something great.
5. A Couple at Golden Hour
A sun flare behind them adds romance and warmth to the photo, making the memory even more special.
Tips to Make Your Images Shine with Photeeq Lens Flare
Using the Photeeq Lens Flare well takes a little practice. Here are some final tips to help you get the best results:
1. Keep It Natural
Your photo should still look like a real moment, just better.
2. Practice on Different Photos
Try it on a variety of images—nature, portraits, cityscapes—to see what works best.
3. Don’t Be Afraid to Start Over
If something looks off, remove the flare and try again. It’s okay to test and learn.
4. Edit Other Parts Too
Sometimes the flare works better if you also adjust the brightness or contrast of the photo.
5. Have Fun With It
This tool is meant to make your photos exciting. So enjoy the process and create something beautiful.
Conclusion: Bring Light Into Your Photos with Photeeq Lens Flare
The Photeeq Lens Flare effect is not just a tool; it’s a creative spark. With it, you can turn a simple photo into a story, a memory, or a piece of art. It’s easy to use, fun to try, and the results can be amazing.
Whether you are editing photos for work, for fun, or for sharing online, adding the Photeeq Lens Flare is a smart way to make your images shine brighter. Start today and let your pictures glow with personality and light.
Also Read: How to Start Your Make1M.com Millionaire Life Today?